https://www.techworld-with-nana.com/devops-bootcamp
Cloud computing has fundamentally changed how we build, deploy, and manage software. Rather than relying on physical, on-premises servers and infrastructure, we now have access to scalable, flexible computing resources delivered over the internet - "the cloud."
In this post, we'll break down the main cloud service models: Software as a Service (SaaS), Platform as a Service (PaaS), Infrastructure as a Service (IaaS), and Serverless. We'll also discuss practical steps for setting up infrastructure on DigitalOcean, as covered in the bootcamp.
What is Cloud Computing?
At its core, cloud computing provides services like servers, storage, databases, networking, and software over the internet. Instead of investing heavily in hardware and maintenance, you can "rent" what you need, when you need it.
Cloud Service Models
Software as a Service (SaaS)
- What it is: Complete software applications delivered over the internet.
- You manage: Just your data and usage.
- Provider manages: Everything else (infrastructure, application, updates).
- Examples: Gmail, Salesforce, Slack.
Platform as a Service (PaaS)
- What it is: A platform that allows you to develop, run, and manage applications without dealing with infrastructure complexity.
- You manage: Your application and data.
- Provider manages: Operating systems, servers, storage, networking.
- Examples: Heroku, Google App Engine.
Infrastructure as a Service (IaaS)
- What it is: On-demand access to basic computing resources (virtual servers, storage, networks).
- You manage: The operating system, applications, runtime, and middleware.
- Provider manages: Physical servers, networking, storage, virtualization.
- Examples: AWS EC2, Azure Virtual Machines, DigitalOcean Droplets.
In this demo, we focus on IaaS. We create and configure virtual servers (Droplets) on DigitalOcean to deploy services like Nexus, Jenkins, or our own applications.
Serverless
- What it is: A model where you run code without provisioning or managing servers.
- You manage: Just your code.
- Provider manages: Everything else (infrastructure scaling, maintenance).
- Examples: AWS Lambda, Azure Functions.
Serverless is ideal for event-driven workloads and microservices that require auto-scaling and minimal operational overhead.
Practical IaaS Example: DigitalOcean Droplet Setup
As part of the demo, we will set up a Linux-based Droplet (virtual machine) on DigitalOcean to run a packaged Java application.
Summary of Steps:
- Pre-Requisite: Create DigitalOcean account.
- Configure SSH keys.
- Create a Droplet with Linux Ubuntu distribution.
- Open SSH port 22 on server using firewall configuration.
- SSH into the server using its public IP address.
- Install Java to run Java application on it.
- Security best practice by creating and configuring a new Linux user.
- Deploy and run a Java Gradle application.
Create DigitalOcean Account
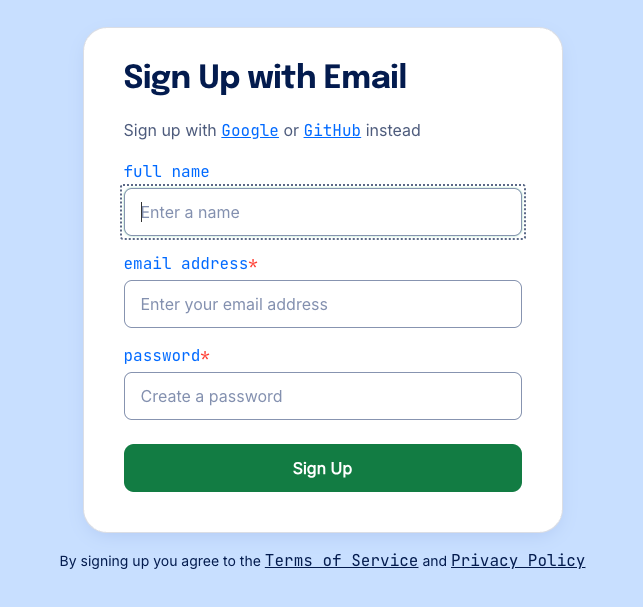
- Sign Up in DigitalOcean
- You can use an email, Sign Up with Google or Sign Up with GitHub.
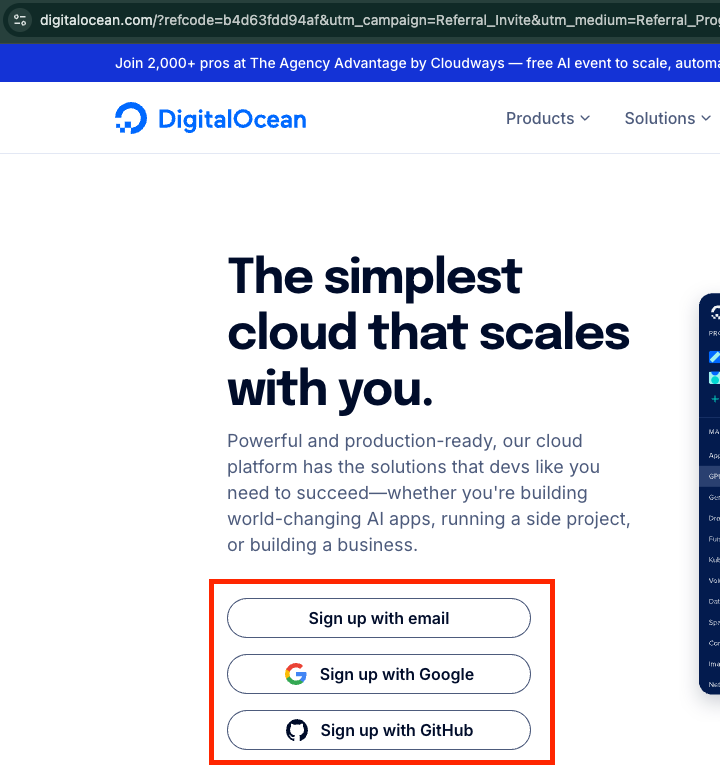
- Follow the Sign Up process until your account is ready.
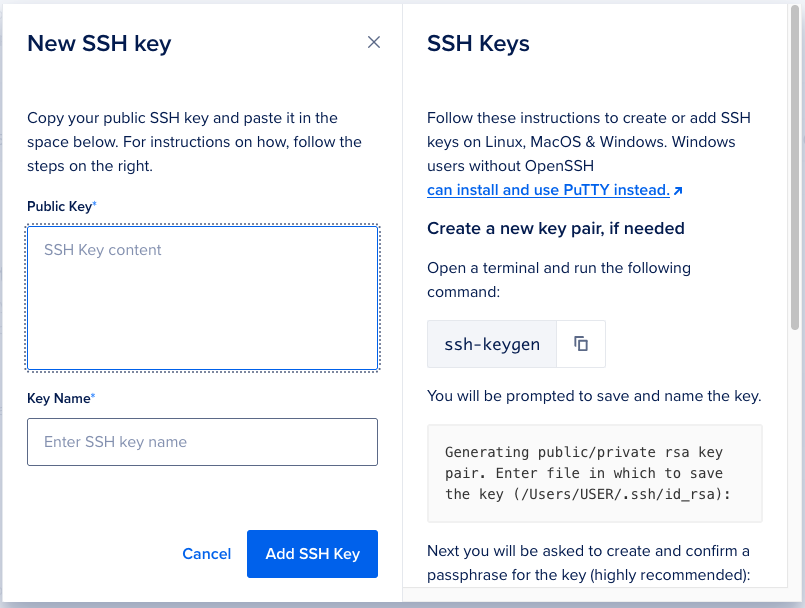
Configure SSH Key
Using SSH keys to access our cloud servers (like a DigitalOcean Droplet) is more secure and convenient than using passwords.
- Stronger security: SSH keys are much harder to crack than passwords. A private key is nearly impossible to guess using brute force.
- No password to steal: Attackers can't capture or guess a password if there isn't one.
- Convenience: Once configured, SSH keys allow you to log in without typing a password each time.
- Easier automation: Scripts and tools can securely use keys for automated deployments without needing to store plain text passwords.
Steps:
- Login to your DigitalOcean account.
- Click on Settings on the left menu.
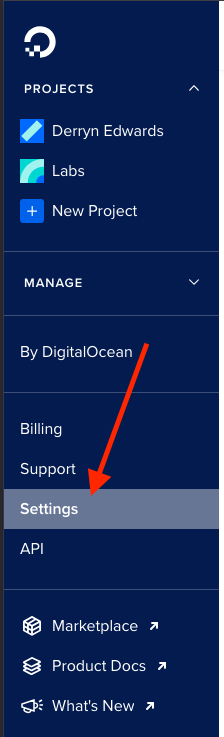
- Click on the Security tab.
- Click on Add SSH Key.
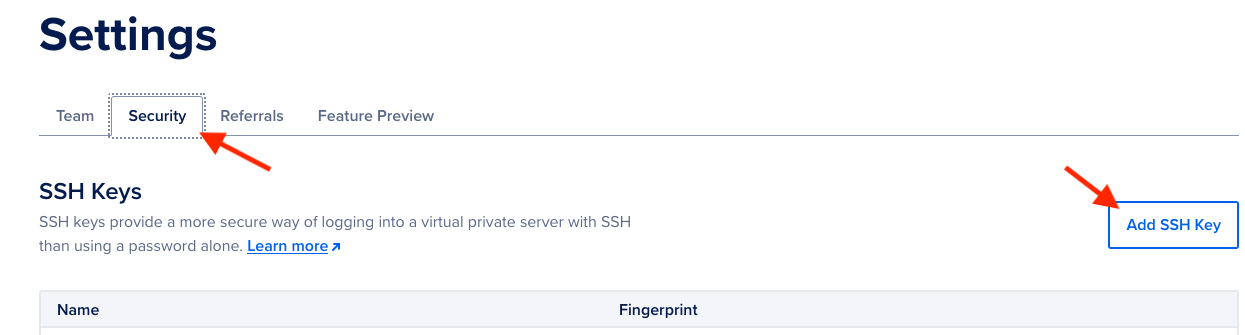
- Follow the instructions and add the new SSH Key.
Create a Droplet
- On the left-side Menu, under Manage, select Droplets.
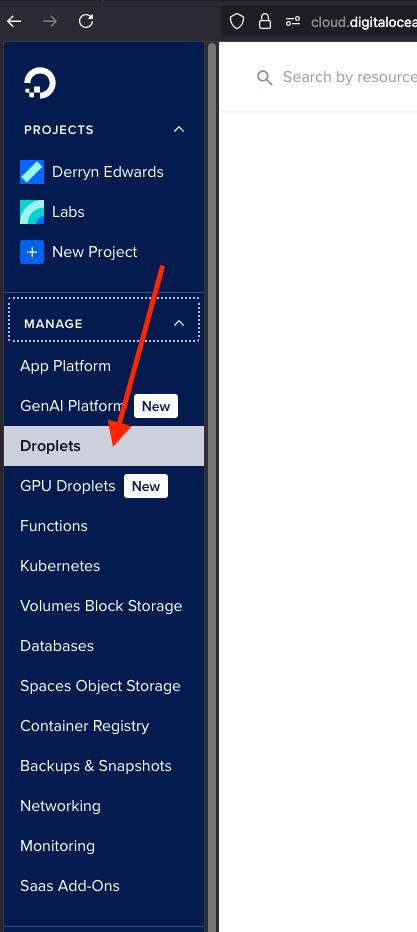
- Click on Create Droplet.

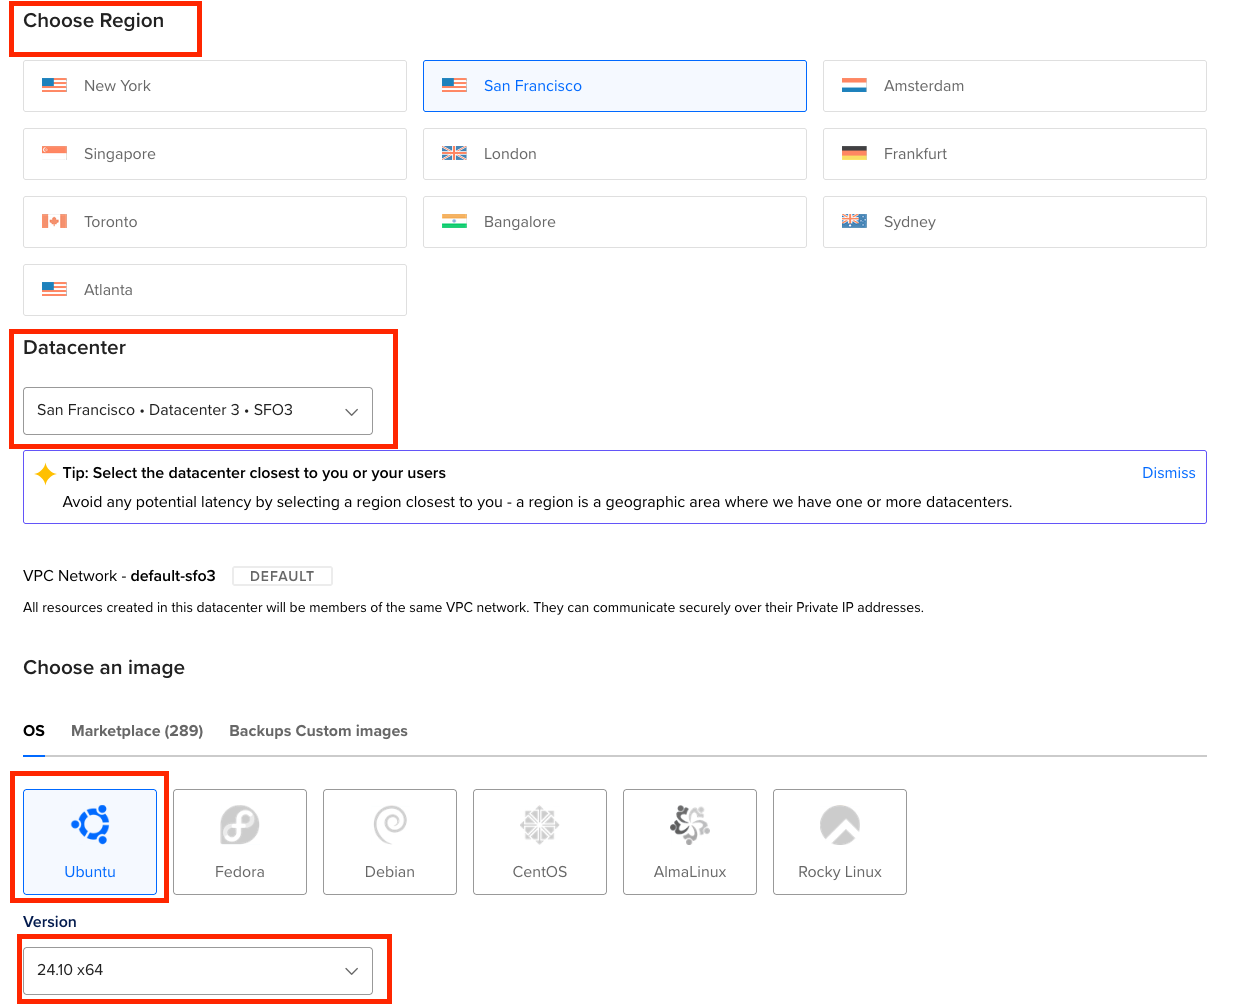
- Select a Region, then a Datacenter, on Choose an image, select OS > Ubuntu > 24.10 x64. The region you select should be the closest to either you, or your users, to avoid any potential latency.
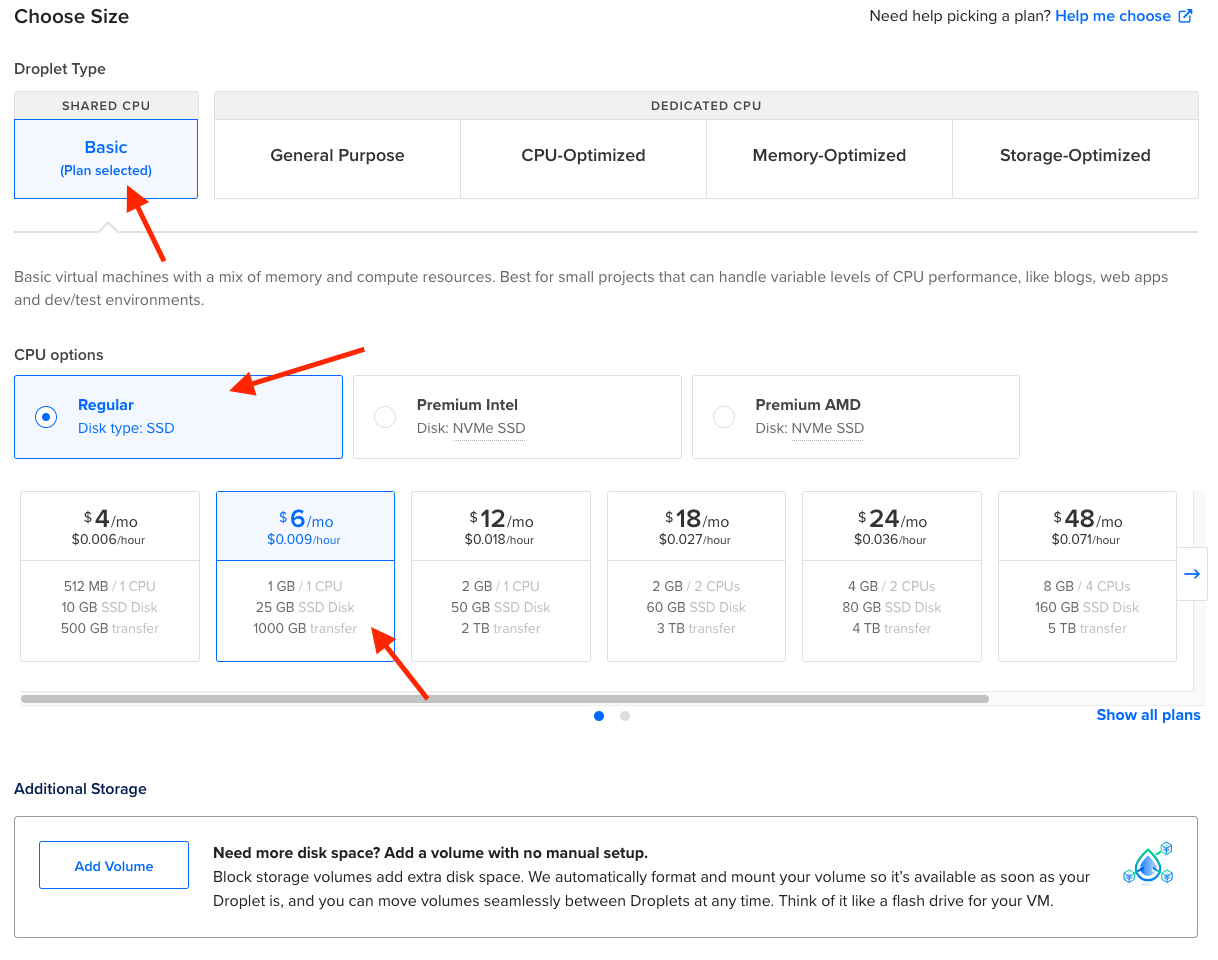
- Choose a size, in this case, Basic - Shared CPU, 1 GB Ram / 1 CPU. Do not add additional storage.
- Select your SSH Key and leave the rest of the settings on default.
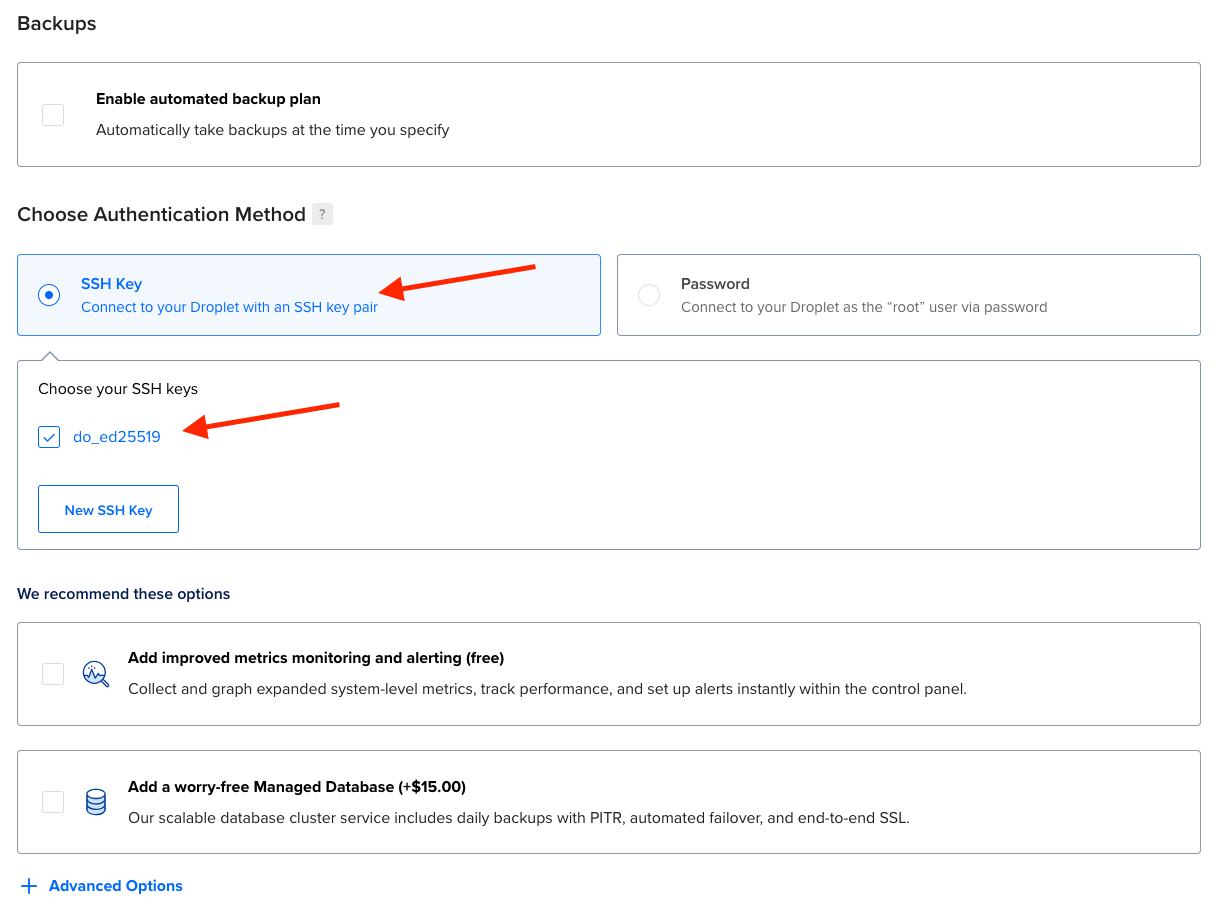
- Add a hostname to your Droplet, and click on Create Droplet.
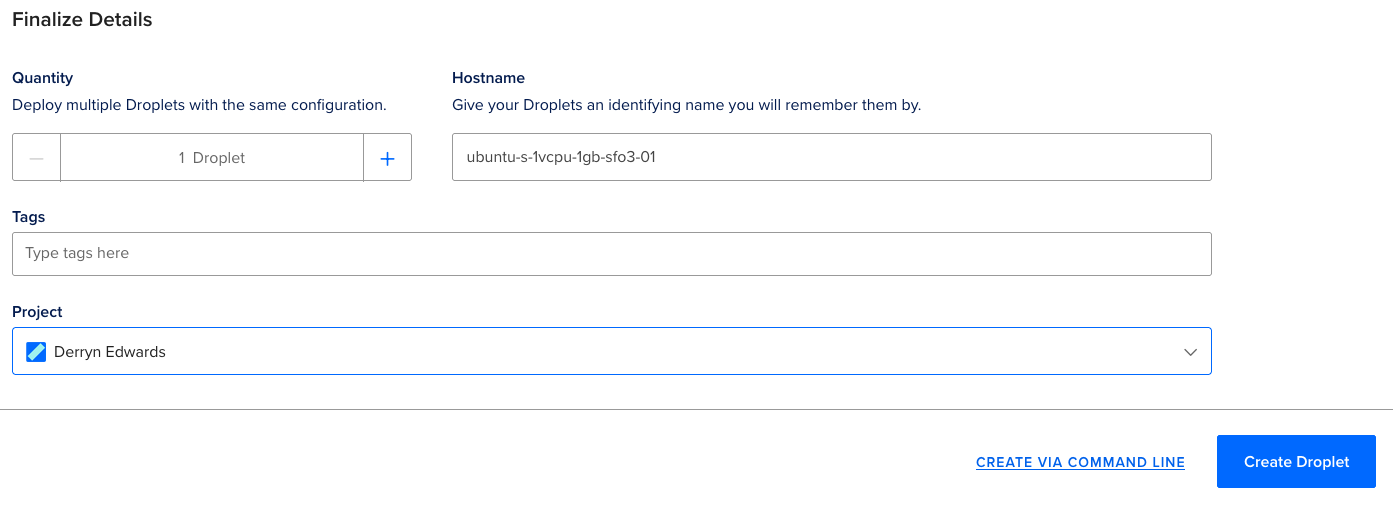
- Wait for your Droplet to get created, and copy your Public IP.

Open SSH port 22
Firewalls - called security groups in AWS or firewalls in DigitalOcean - are crucial for protecting your cloud servers. We don't want our server fully exposed to the internet!
- Control traffic: They let you define exactly which incoming and outgoing traffic is allowed (for example, allowing SSH on port 22, or HTTP on port 80).
- Cloud-native security layer: Unlike traditional on-premise firewalls, these are managed directly through your cloud provider and can be quickly updated as your needs change.
In short, cloud firewalls act as your first line of defense, keeping your servers safe and accessible only to trusted sources.
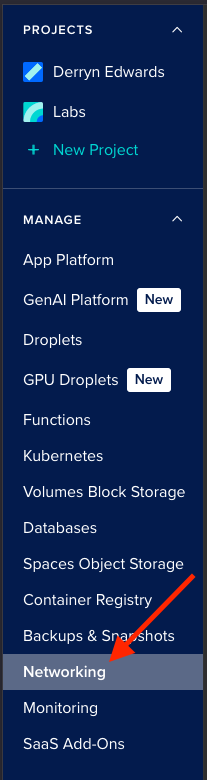
- On the left-side Menu, under Manage, click Networking.
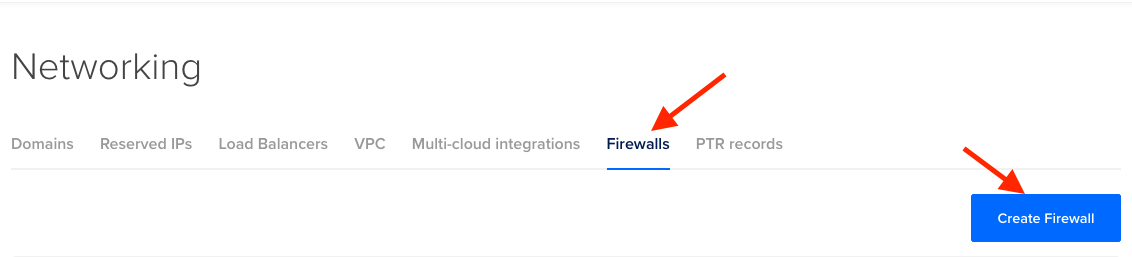
- Click on the Firewalls tab, and then, click on Create Firewall.
- Provide a name for your Firewall, leave the Outbound Rules on default (open everywhere), and on Inbound Rules, for SSH Port 22, change the Sources to your Public IP. You can get your Public IP by visiting https://www.whatsmyip.org/.
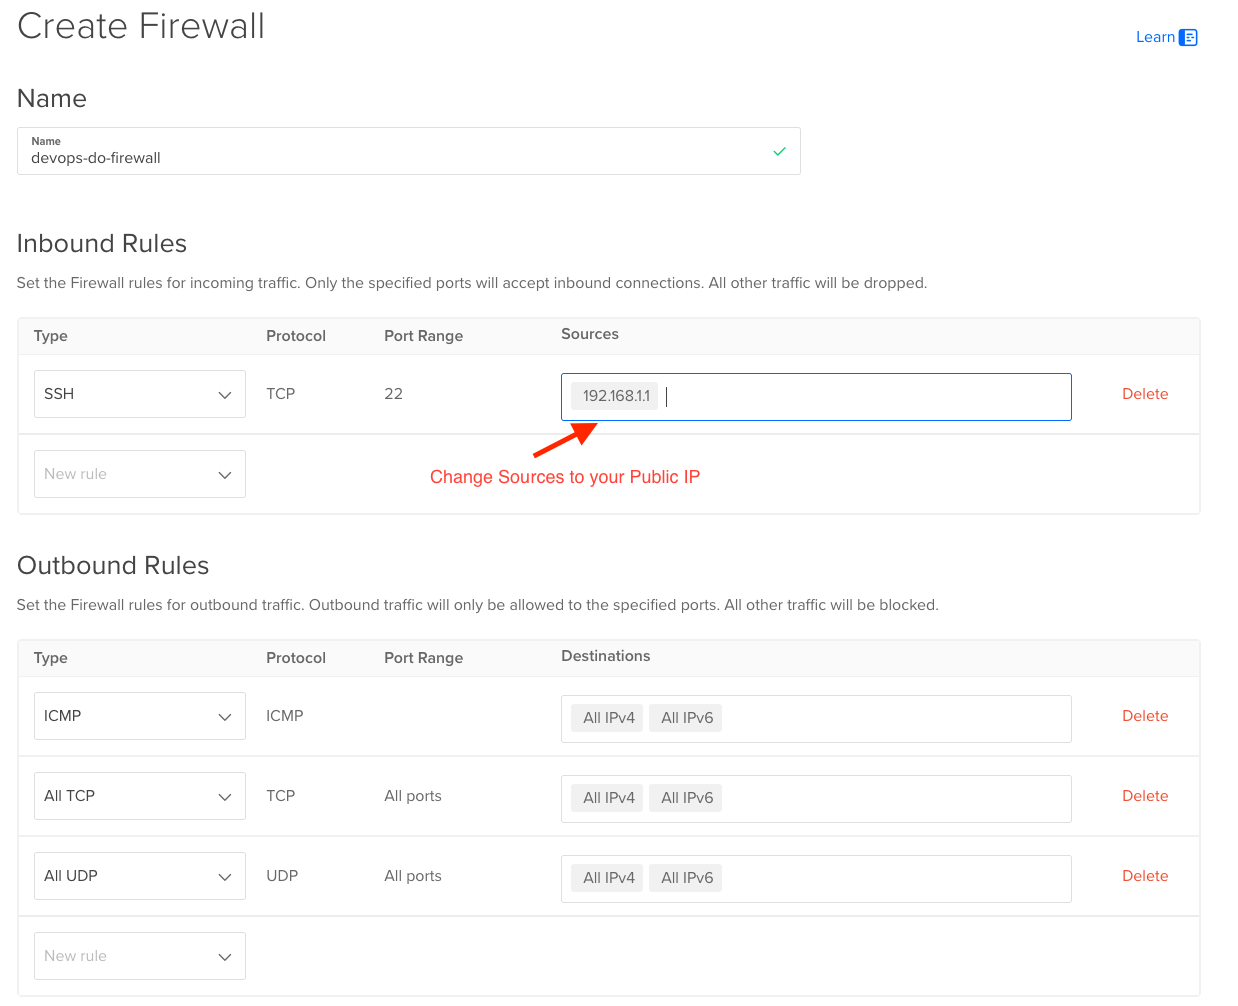
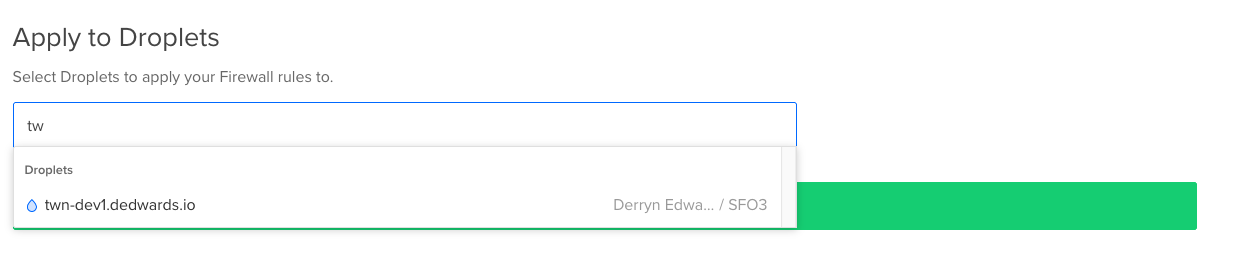
- On Apply to Droplets, select your new Droplet, then click on Create Firewall.
SSH Into The Server
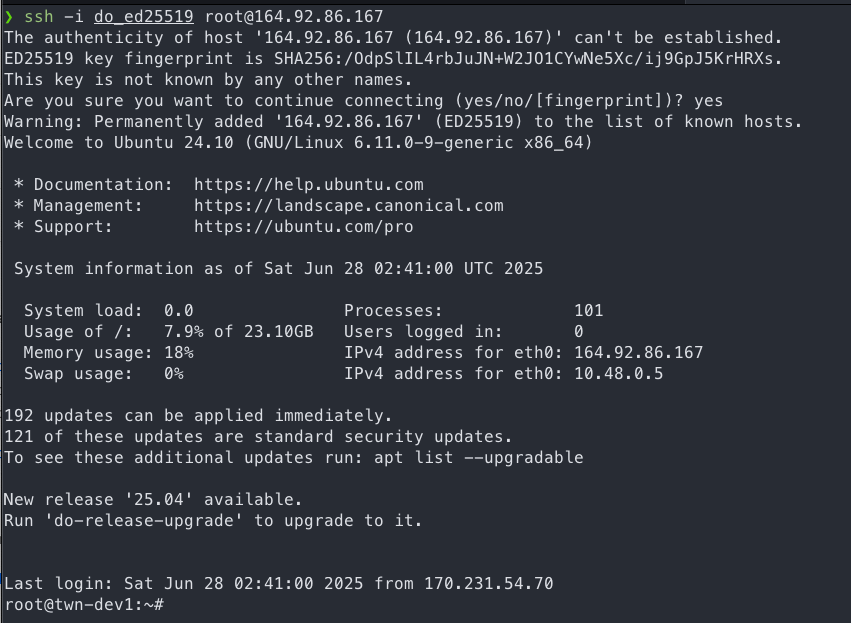
At this point, we are now able to SSH into our server, using the server's Public IP and our created SSH Key.
- Open your preferred terminal emulator.
- Locate your SSH Key (usually found in
~/.ssh/ - SSH into the server with your ssh key.
ssh -i id_rsa [email protected]- Type in yes and go through the prompts.
Install Java
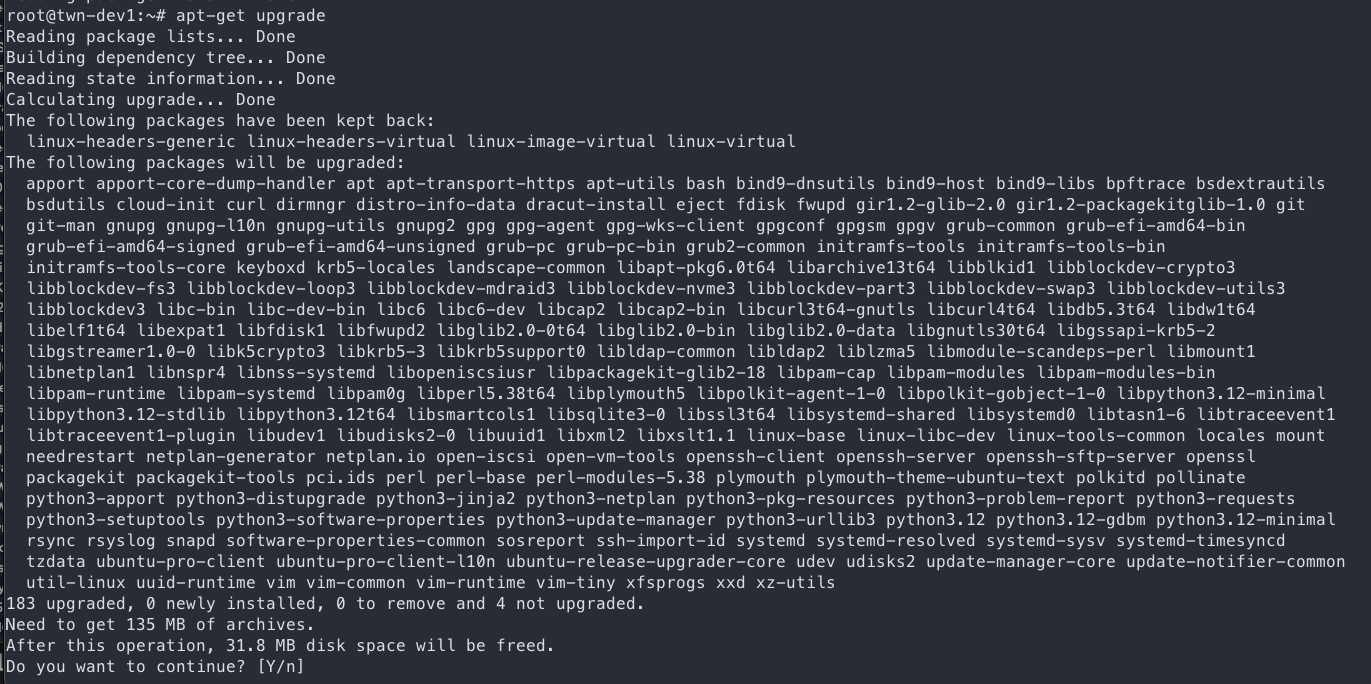
- Update and upgrade your Ubuntu Server.
apt-get update
apt-get upgrade
- Check if Java is installed and get installation commands.
java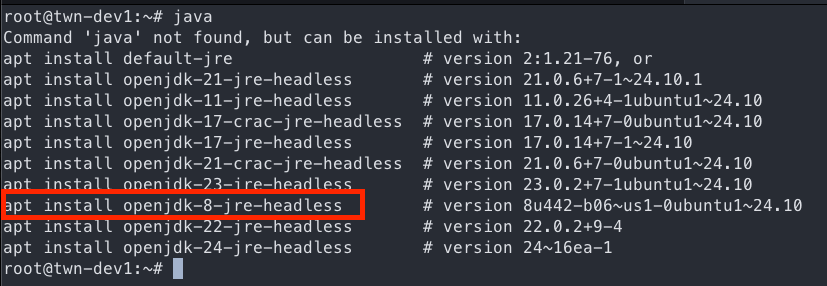
- Install Java
apt install openjdk-8-jre-headless -y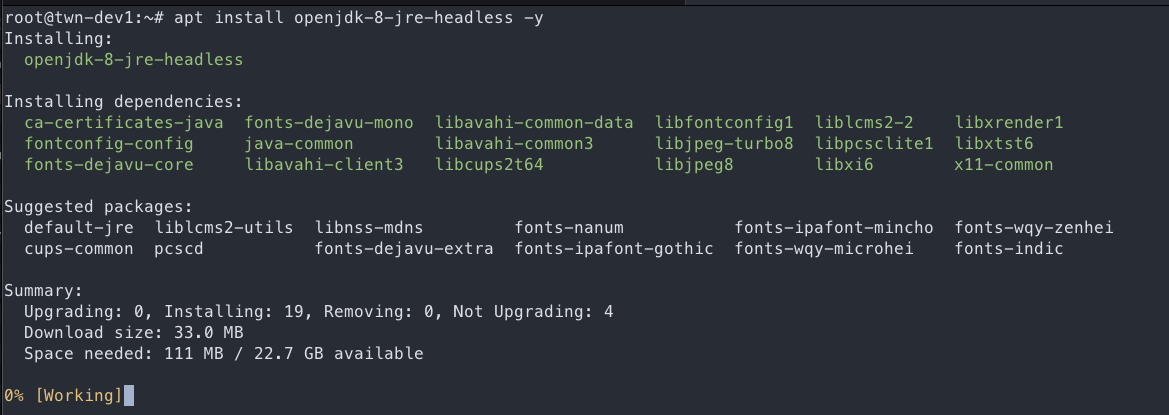
Security Best Practices
When setting up cloud servers, never use the root user for daily operations.
- Why avoid root?
The root account has full, unrestricted control. If compromised, an attacker can do anything - from deleting data to taking over the entire system. - Create a new admin user:
Set up a separate user with sudo privileges for administrative tasks. This limits exposure and makes activity tracking clearer. - Use application-specific users:
For each application (e.g., Jenkins, Nexus, Java), create a dedicated user account with only the permissions it needs. This follows the principle of least privilege and reduces the impact if one app is compromised.
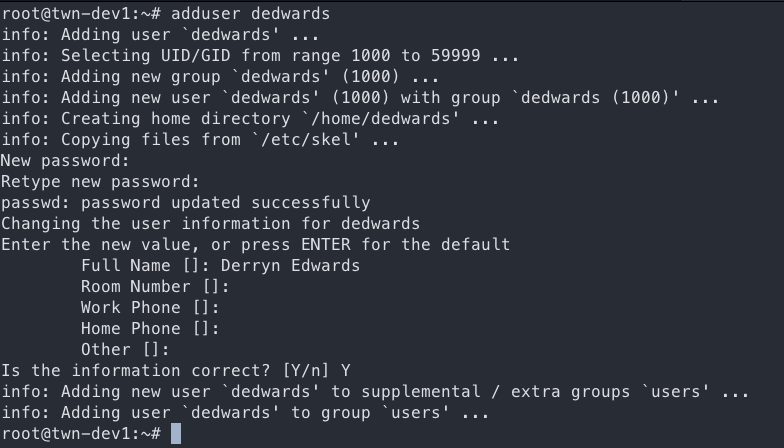
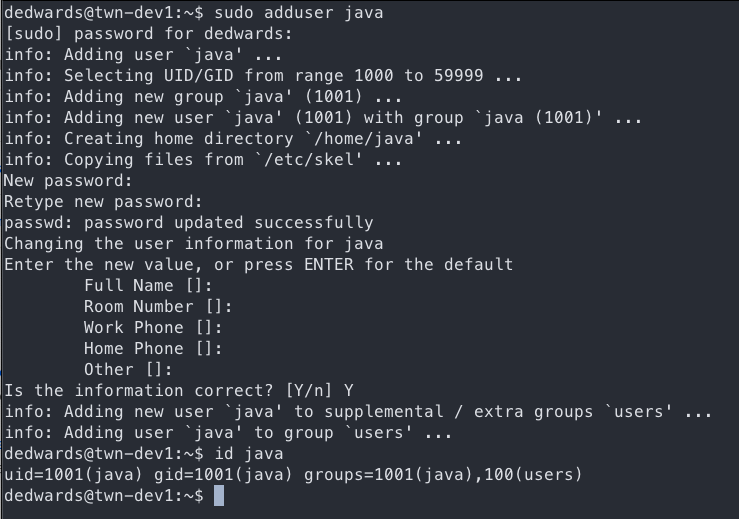
- Create a new Linux user.
adduser dedwards- Fill in the different prompts.
- Add the new user to the
sudogroup for elevated privileges. Verify the added group.
usermod -aG sudo dedwards
id dedwards
- Add your public key into the new user's
~/.ssh/authorized_keys. For the purpose of this demo, we will use the same key we set on DigitalOcean.
su - dedwards
mkdir -p ~/.ssh
cd ~/.ssh
vi authorized_keys #paste your public key and save the file

# Test out SSH with your new user
ssh -i do_ed25519 [email protected]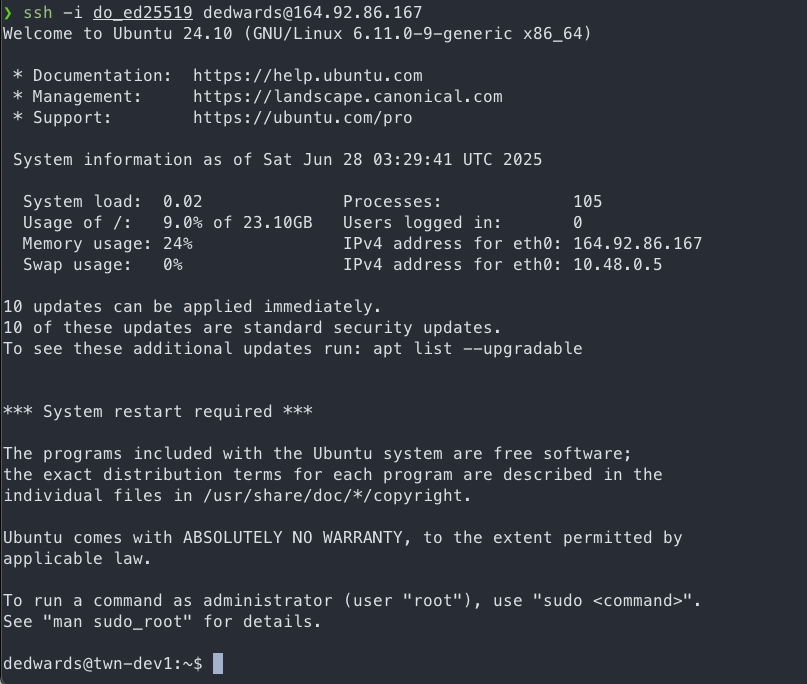
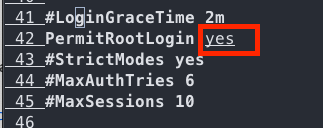
- Edit your
/etc/ssh/sshd_configand look forPermitRootLogin. Changeyestonofor extra security by disabling root login.
- Create a
javauser the same way you created your new admin user, but do not add it to thesudogroup.
Deploy the Java Application
Pre-requisites:
- Java installed on your local machine.
- Gradle installed on your local machine.
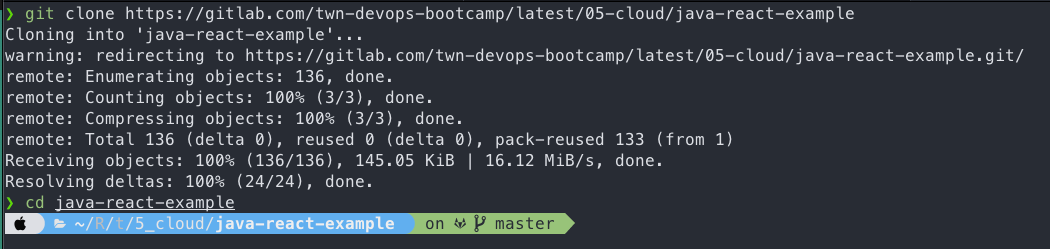
- On your local machine, clone the following git repo: https://gitlab.com/twn-devops-bootcamp/latest/05-cloud/java-react-example
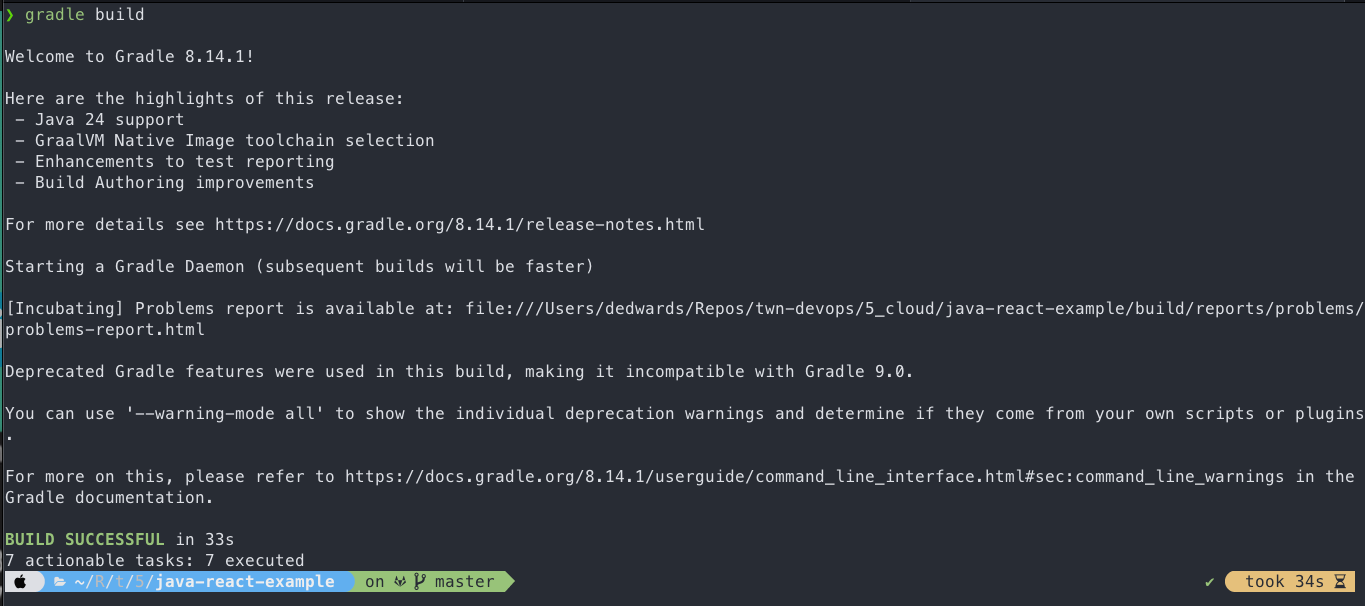
- Run
gradle buildto build the application.
- Now we will copy the
.jarfile over to our Droplet, using thescpcommand and our ssh key.
scp -i ~/.ssh/do_ed25519 build/libs/java-react-example.jar [email protected]:/home/dedwards/- Let's ssh back into our Droplet, with our admin account.
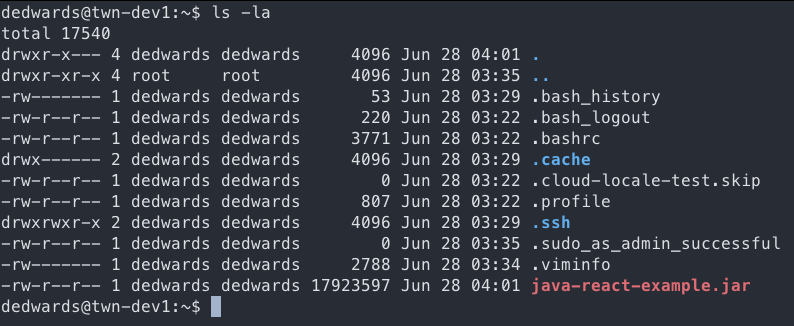
- Use
sudoand movemvthe JAR file into/home/javaand change ownershipchown java:java java-react-example.jar
sudo mv java-react-example.jar /home/java/
sudo chown java:java /home/java/java-react-example.jar
sudo su - java #switch user to java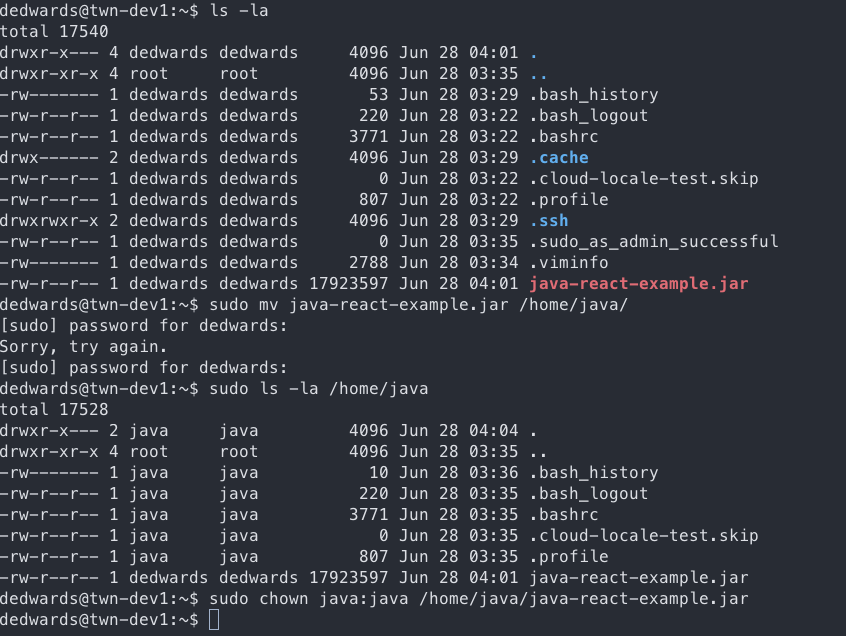
- Once you switch user to
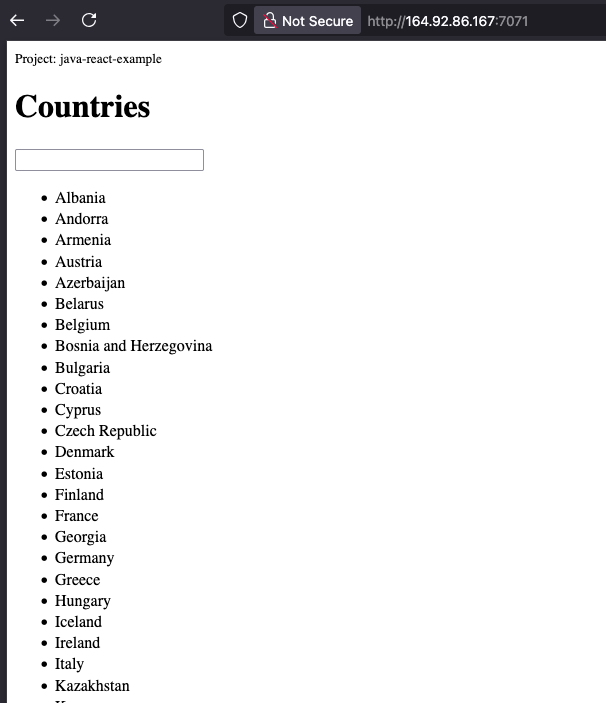
java, let's go ahead and run our application.
java -jar java-react-example.jar
- If you would like to see your new deployed app via the browser, go back to DigitalOcean and add a new Inbound Rule, on port TCP 7071 for your Public IP in the previously created Firewall.

Conclusion
Cloud computing offers us incredible flexibility and power, with service models designed to match different needs and skill levels. SaaS allows us to focus purely on using software without worrying about infrastructure. PaaS empowers us to build and deploy applications quickly, without managing servers. IaaS gives us control over virtual servers and networking, ideal when we need flexibility and customization. Finally, Serverless takes away nearly all operational concerns, letting us focus purely on code and logic.
In the hands-on demo, we explored setting up an IaaS environment using DigitalOcean, highlighting real-world practices like configuring SSH keys, securing our servers with firewalls, and creating dedicated users for better security. These steps not only reinforce the concepts of cloud infrastructure but also help build a solid foundation in deploying and managing applications securely and efficiently.